Pink Prints
September 28th, 2012
 The flamingo in its rightful place. When my xacto knife arrives I’ll have a better shot at removing the brim from the edges. |

As always, click any image to see it at full size.
|
The flamingo in its rightful place. When my xacto knife arrives I’ll have a better shot at removing the brim from the edges. |
As always, click any image to see it at full size.
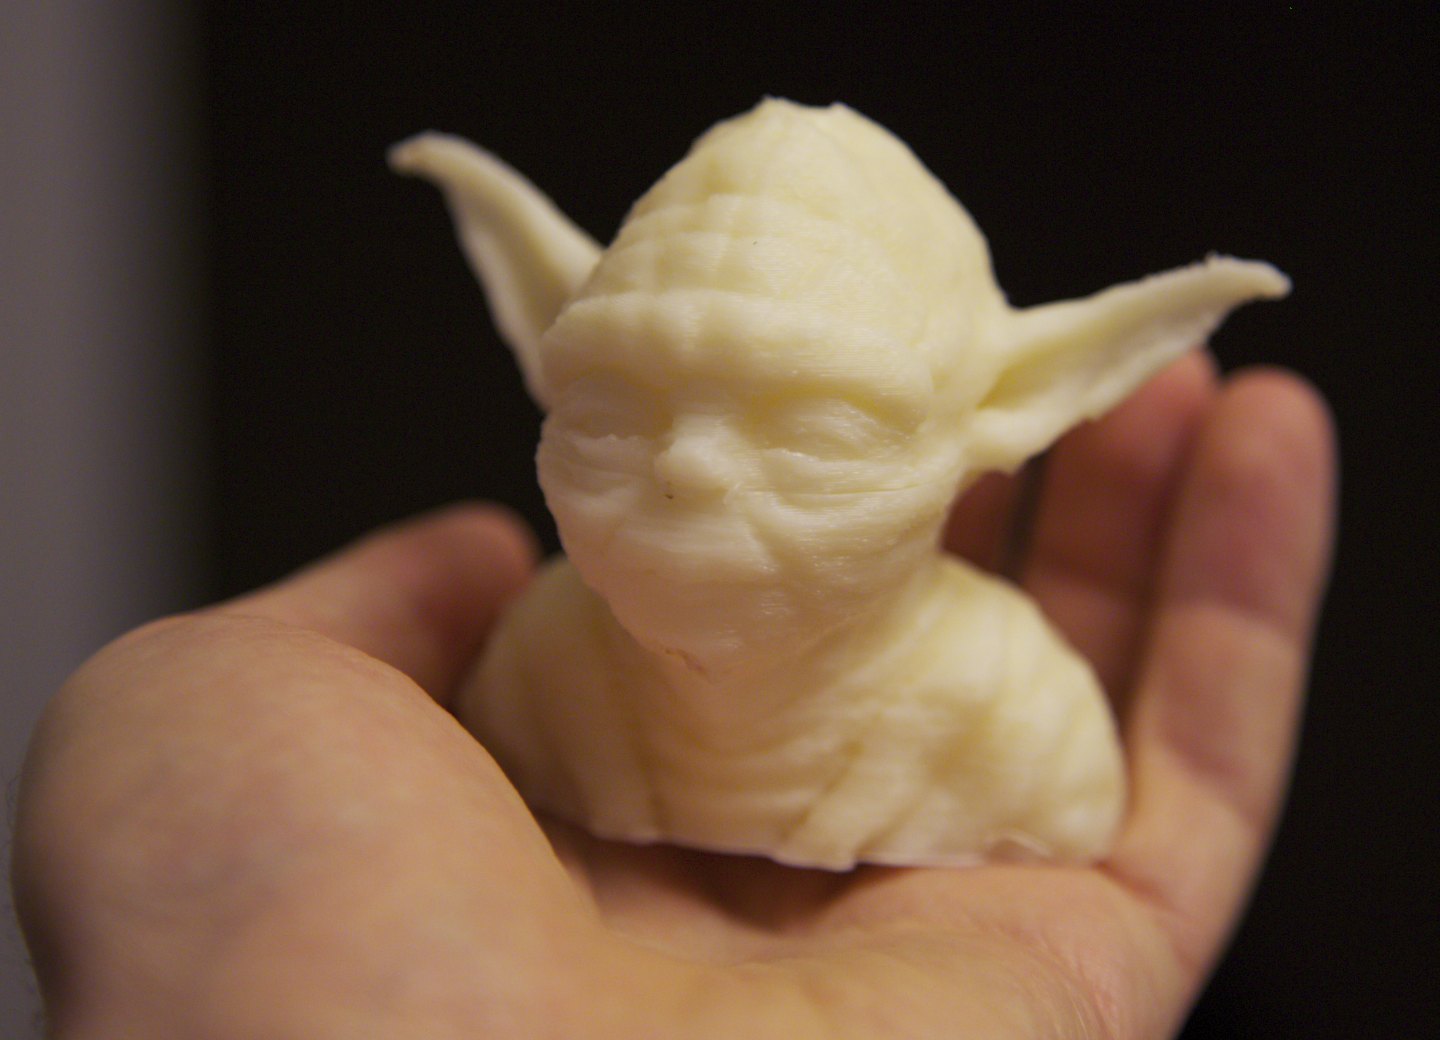
It’s tough to stop at 1 scaled-down and quickly output print when I know the model is uncommonly highly detailed and capable of better. This is what that same model looks like when printed at .08mm layer height in “robot silver” PLA. It took 6 hours and 31 minutes to print.
 |
 |
 L to R: Dynomite. In a hand for scale. With Yoda. Click to see any image embiggened, or check ’em out on in my 3d printing set on flickr, which will probably load more quickly. |
It seemed the right thing to bring for lunch…

It’s this model from thingiverse, printed at 70% scale in “robot silver” PLA from faberdashery.

Grab your laptop and aim an edge of it towards a light or window and check the reflections on the surface of the screen to see if you can spot a series of little vertical-notch-shaped marks. If you see them, try to clean them off with a microfiber cloth and some screen cleaning fluid –maybe you can get rid of the acid in time. I had no such luck with my old MacBook Pro and the marks were permanent by the time I’d spotted them. If you’re also out of luck, a google search for keyboard marks on laptop screen will return many related tales of woe that you can read as a way to indirectly commiserate with the zeitgeist.
There’s a simple way to keep these marks from occurring — a piece of microfiber cloth can be placed between the keyboard and screen, can stay in place when the laptop is closed, and acts as a barrier between the keyboard and the screen. It can also be used to safely wipe the screen, clean other monitors, one’s spectacles, etc. I’ve been through a few commercially-made versions of this same product, each purchased at lower cost than the last, and I thought it might be useful to document this race to the bottom.
When my MacBook Pro showed signs of those keyboard marks, I purchased a thick microfiber pad called a ScreenSaverz which totaled about $22 including shipping. The ScreenSaverz worked great, I used that cloth for years without fail.
When I bought my 11.6″ MacBook Air, I needed a microfiber cloth sized for it. I found Shaggymac’s MacBook Screen Protector, which can be had for about $13 shipped to CA. I think the ScreenSaverz cloth may have been slightly thicker and more plush, but the ShaggyMac product fulfilled the same functions for me very well –until I misplaced it.
I figured if I ordered a new fancy screen protector cloth, I’d probably find the lost item a day later and feel like a tool for having purchased two. So I decided to instead see how cheap an adequate replacement I could find. A bit of searching on Amazon turned up the “Human Toolz 3-in-1 Notebook Pad” in “Designer Black” for $6 with prime shipping. It seemed worth a try.
I’ve been using this pad now for a month, and it’s working fine as a protective barrier between keyboard and screen. It’s a different kind of cloth than the others –one side is textured rubber and the other side is a thin and shiny-ish microfiber cloth. It does not wrinkle or bunch up, it’s more like a very thin mousepad. As a screen or glasses wipe it falls short of its predecessors, but it does actually work as a mousepad, and fits the laptop well. I’m liking it so far, and will put the money saved towards building an operant conditioning chamber in which to train myself to never again lose a screen protector cloth.
Y’all Yoda’d-out yet? Hope not, because Yoda!

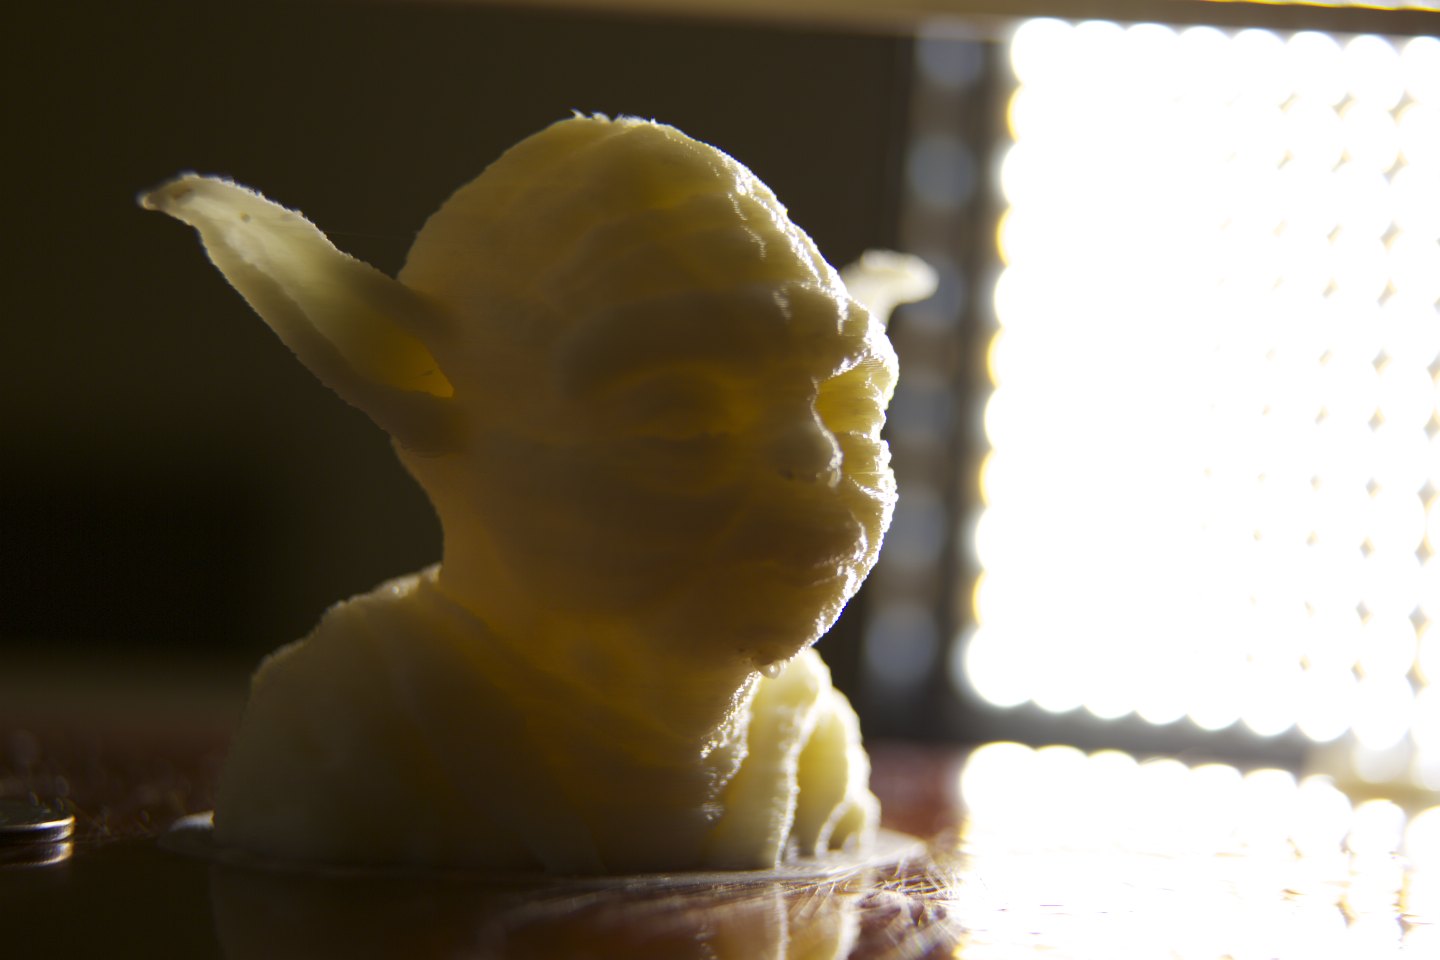
After a bunch of testing and tweaking (lowered the “XY jerk” setting in the marlin firmware, lowered the hot end temp to 222ºC, raised the bed temp to 110ºC, increased filament retraction to 1.5mm) I got the bot printing .1mm layers with 180mm/sec perimeters, and proceeded to print a full-scale Yoda Lite as a test –this time completely hollow to save time and plastic. I was shocked to see in this print facial details that were not at all visible in the .2mm layer-height version. Night and day. He has eyes, and eyelids, with wrinkles! It almost looked like there was skin surface. 0.1mm layers are so small they begin to disappear.
But if it could print at 0.1mm, what about lower? How about the arbitrarily-chosen height of 0.06mm? Apparently yes, it’s possible. It worked. The layers are so barely-there that other very fine layers that run vertically and wrap around the contours of the object have become visible –I think they may be evidence of the limits of the resolution of the x and y axes.
 0.1mm layer height. Click any image in this post to see it at full resolution (caveat: some of these are very big and may take a while to load). |
 0.06mm layer height. Yoda’s robes look smoother to me than they do in the .1mm photo. |
I’d given away the 0.1mm Yoda to a cousin and can’t compare the two directly, but I had taken a couple of very similar photos, and after adjusting their levels to bring out the detail the .1mm and .06mm version look pretty similar. Click either photo to view at full resolution. I should probably just print another .1mm Yoda so I can compare them with my own eyes and see whether it’s worth printing at below .1mm layer height.
In any case, there are plenty of areas of improvement in all of these prints, but I’m very happy with the progress of my bot’s print quality. Fun.

During the 2+ hours it took to print the full-scale Yoda Lite at .2mm layer height the other day, I decided to power up the DSLR and LED light, and document the process. The result is this short video which includes many handheld macro shots of my Printrbot+ in action.
The music is Kenichi ÅŒkuma’s track for the Flat Zone 2 level of the Wii game Super Smash Bros. Brawl; A gratingly blippy tune 1 that evokes 60s-era space age lounge. I wouldn’t normally use commercial music, but as far as I can tell this track is unavailable for purchase (at least in the USA), and it deserves some exposure outside of the 4-year-old video game for which it was composed.

The fact that someone left a huge box down there cracks me up a little as it’s a pretty extreme example of either a cavalier disregard for or lack of understanding of how the infrastructure operates. The fact that a note was penned on the box is interesting. But even more amusing is the label on the box indicating that it was for a store display of “Fleshlights“. How many solo sex toys could one individual have received in a box the size of a refrigerator? I expect that guy won’t be coming out of his room for a couple of months, and it’ll be up to us neighbors to break down and properly dispose of the box.
 |
 Click either image to see it embiggened. |
I made time to print a 100% scale version of Yoda Lite tonight with my Printrbot+ set to .2mm layer height. Catastrophe struck in the form of a power supply reset right in the middle of printing, but a tip on this page led me to edit the raw gcode of the file such that when I reopened it in macpronterface the print continued almost exactly where it left off, saving me the need to start over and lose over an hour of printing. A slight horizontal line running across just below Yoda’s nose is the only sign of this print issue.

I disassembled and reassembled the Printrbot+ this weekend. I’ve now upgraded it quite a bit, with accuracy and speed in mind. It now uses GT2 belts and molded polycarbonate/brass pulleys in place of its stock XL belts and printed pulleys, and Acme leadscrews instead of the original threaded rod. Aluminum 5mm-6.35mm couplers connect the leads crews to the z-axis motors, instead of the original set of molded plastic couplers. I bought all of the parts for this round of upgrades from techpaladin.com. Nathaniel was super-helpful, and informed me of parts I’d need that became in-stock just before my order shipped and in time for me to add them.
The result of these upgrades make me very happy. First I printed a popular test object, Mr. Jaws. It went so well that I decided to push the envelope and drop the layer height setting from .4mm to .2mm. This higher-resolution print took twice as long (~27 minutes vs ~14.5 minutes), but the edges of the print are much smoother and the ridges much less pronounced.

I had one abortive print attempt in which 1/3 of yoda printed and then the object stuck to the extruder nozzle and popped from the bed. In order to prevent this from happening again, I adjusted the z axis endstop to print the first layer slightly lower and more flattened by the extruder into the kapton surface of the print bed. You can see this flattening in the circle of plastic or “skirt” around Yoda. It’s a little more flattened than I’d like, as every subsequent layer also gets flattened and the detail in the print is affected, but I wanted it to really stick to the bed this time. The result has some problems around the ears, but made me happy nonetheless. It’s a definite improvement over the pre-upgrade prints.

On Sunday, I made a few last-minute adjustments to the Printrbot+, wired the motors and sensors to its circuit board, loaded the software on my computer, powered it up, plugged in the USB cable, and gave it a whirl. Shockingly, the blue smoke remained inside the board and all axes and the extruder responded to computer control.
I applied some blue painter’s masking tape directly to the print bed as a surface, loaded up the extruder, and set it printing technoswiss’s ‘Printrbot glass clips’ so that I could install the 8×8″ sheet of borosilicate glass I’d purchased from McMaster Carr to use as a print bed. The extruded plastic would not stick to the tape. I increased the heat of the bed and extruder and had some success, but eventually gave up on that print surface and applied a surface of heat-resistant Kapton material to the print bed. That worked much better, and produced the squishy version of the clip visible above.

Monday’s subsequent attempts at printing didn’t stick to the Kapton, and I realized that I needed to recalibrate the Z-axis and attempt to level the bed, as the hot end of the extruder was just not getting close enough (it’s supposed to print from a distance roughly equal to the thickness of a piece of paper). Problem solved, but as it printed I noticed that the printhead was squishing the printed object around as if it were a block of cheese. I reasoned that this was due to excessive bed temperature, excessive hot-end temperature, a miscalibrated z-axis (the head was not raising enough between layers), and a miscalibrated extruder (it was extruding too much plastic). A few measurements and adjustments later, and a much better print was produced. It seemed like it would be usable, so I printed 3 more.

And then it seemed time to print some replacement parts before the bits that had broken in assembley stopped working. I’d split the y-axis pulley by over tightening and had also broken a y-axis belt clip. I downloaded the files and tried printing these more complicated parts. Unfortunately at this point the broken y-pulley was beginning to slip on the motor shaft, so the y-axis was not stable. The pulley is probably not going to be usable, but it does look cool. The belt clip is slanted due to the slipping y-axis, but it’ll probably work fine. I have more precise GT2 belts and pulleys on order, so it should be printing much more accurately by next week.

 The cheap option: Human Toolz 3-in-1 Notebook Pad (Designer Black)
